
As we move into 2026, many of us have already set our New Year’s resolutions – healthier habits, less screen time, more balance. All great goals.
G2 Computers, we’d like to suggest one more: a few simple digital safety habits that help protect your devices, your data, and your peace of mind. Over the next four short articles, we’ll share practical, low-effort steps to reduce everyday digital risk and avoid the most common issues we see – both at home and at work.
If you’re already doing all of this, you’re in great shape. If not, this series is an easy way to start the year with smarter, calmer digital habits that pay off all year long. The most effective way to avoid digital disasters isn’t sophisticated software or constant vigilance. It’s a few foundational habits that quietly protect you in the background. In this article, we’ll focus on backups.
Back Up All Your Devices (Regularly)
If there’s one habit that matters more than all the others combined, it’s backing up your data.
Devices fail. Phones fall into pools. Laptops are lost, stolen, or damaged by fire or flood. When those things happen, backups are the difference between a minor inconvenience and a major crisis.
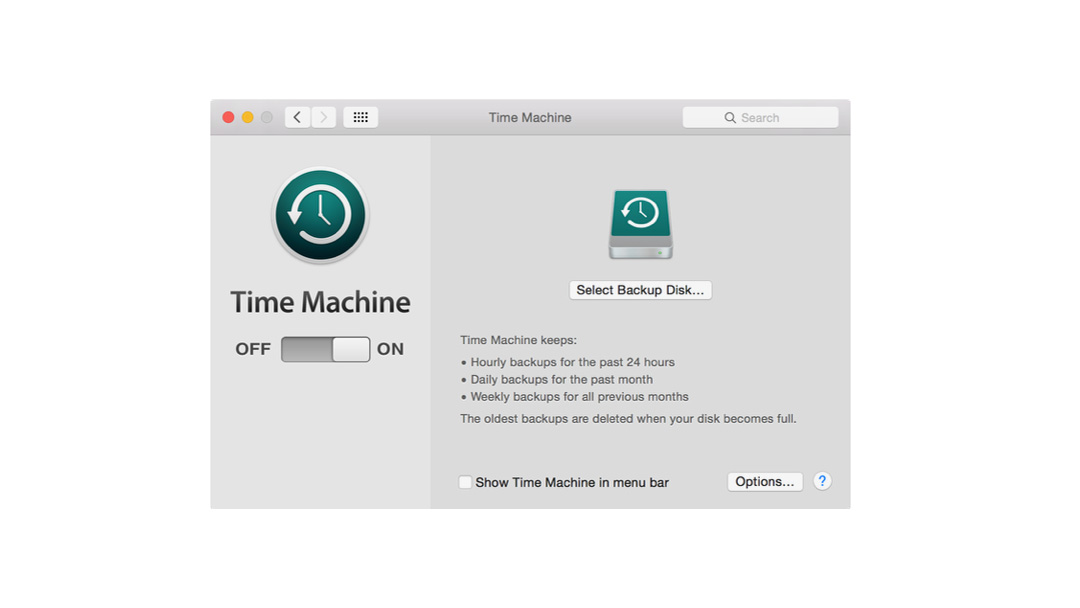
- Mac: Use Time Machine with an external drive, and pair it with an off-site or cloud backup. Talk to us at G2 for the right capacity external HD and other options for your needs.
- iPhone & iPad: Turn on iCloud Backup in Settings > Your Name > iCloud > iCloud Backup. It runs automatically when the device is charging overnight.
- Apple Watch: Your Watch backs up automatically to your paired iPhone, and that data is included in your iPhone backups.
How to Test Your Backup (In Just a Few Minutes)
You don’t need to do this often – once or twice a year is plenty – but restoring a file or two is the easiest way to confirm your backups are actually working.
On a Mac (Time Machine)
- Open the folder where you normally keep documents (for example: Documents or Desktop).
- Click the Time Machine icon in the menu bar and choose ‘Enter Time Machine.’ (If you don’t see the icon, you can also open Time Machine from System Settings.)
- You’ll see older versions of your files appear.
Use the timeline on the right to go back a day or two.
- Select a file you recognize – something small and unimportant, like a PDF or Word document.
- Click Restore.
The file will reappear in its original location.
If the file opens normally, your backup is working exactly as it should.
On an iPhone or iPad (iCloud Backup)
Apple doesn’t allow restoring individual files from an iCloud device backup, but you can still confirm things are set up correctly:
- Go to Settings > Your Name > iCloud > iCloud Backup
- Make sure iCloud Backup is turned on
- Check the ‘Last successful backup’ date and time
If you regularly see recent backups listed, your device is backing up as expected
A Simple Rule of Thumb
- You don’t need to restore everything
- You don’t need to do this often
- You just want to confirm that recovery works before you ever need it
Think of it like a fire drill – quick, reassuring, and hopefully never needed in an emergency.
If you’d prefer not to think about backups at all, G2 Computers can help set up Time Machine backups for your Mac and make sure everything is running smoothly. We’re also happy to test your backups once a year, restoring a file or two with you so you can be confident your data is recoverable if you ever need it.
It’s a simple check, but one that can prevent a lot of stress down the road.