
What to do before you move to a new device
If you are getting ready to upgrade, follow this advice before switching to a new iphone 17 so you do not lose photos, messages, app data, passwords, or access to important accounts. Many people assume the transfer will handle everything automatically, but real-world upgrades often fail because of low storage, outdated software, weak Wi-Fi, or missing account credentials. A little preparation before you unbox the new phone can save hours of frustration later.
Start by checking the condition of your current iPhone. Make sure it turns on reliably, connects to Wi-Fi, and has enough free space to complete a backup. Update iOS if a stable update is available, because device-to-device transfers and iCloud restores usually work better when the old phone is current. Next, confirm you know your Apple Account password, your device passcode, and any important login details for email, banking, messaging, and two-factor authentication apps. If you use a password manager, verify that it is synced and accessible from another device.
Then review what actually matters on your phone. Open Photos, Messages, Notes, Contacts, Calendars, Voice Memos, and Files to make sure the content you expect is still there. Check whether your photos are fully synced to iCloud or still stored only on the device. Open a few key apps and confirm their data is current. Some apps, especially secure business, medical, or finance apps, may require you to sign in again or reauthorize the device after the switch. Knowing that in advance prevents surprises.
Finally, plan the timing. Do not start a migration right before work, school pickup, or travel. Set aside uninterrupted time, keep both phones charged, and use a stable Wi-Fi connection. That one decision alone can make the difference between a smooth setup and a stressful recovery process.
Follow this advice before switching to a new iphone 17: back up the right way
The most important step is creating a backup you can trust. Before you rely on any transfer method, make sure you have at least one recent backup of your current iPhone. For most people, the best approach is to use iCloud Backup and verify that it completed successfully. Go into your backup settings, start a fresh backup, and wait until it finishes. Do not assume an old automatic backup is good enough. Look at the date and time of the latest backup and confirm it reflects your current data.
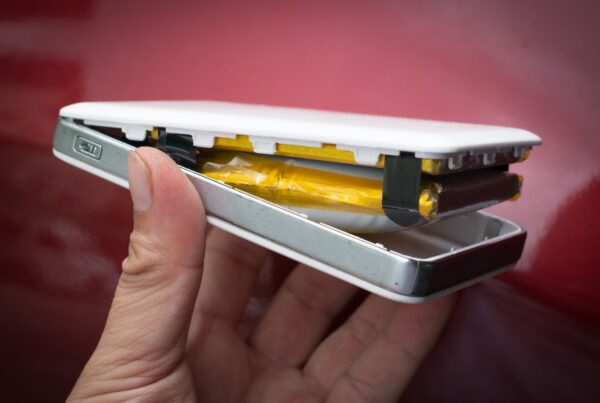
If you have limited iCloud storage, review what is taking up space before the backup fails. Large photo libraries, message attachments, and app data can fill storage quickly. If needed, remove unnecessary files, move large videos to another storage location, or upgrade storage temporarily so the backup can complete. A partial or failed backup is one of the most common reasons users discover missing information after upgrading.
It is also smart to create a second backup on a computer if you can. A local encrypted backup can preserve additional data such as saved passwords, health data, and Wi-Fi settings. Encryption matters. Without it, some sensitive information may not transfer. If your old phone is especially important for work or family records, having both an iCloud backup and a local encrypted backup gives you a stronger safety net.
After the backup is complete, test your assumptions. Make sure your contacts appear in your cloud account, your photos are visible where expected, and critical documents are not stored only inside one app. If you use text-based authentication, consider whether your codes are tied only to the old phone number or device. Backup is not just pressing one button. It is confirming that your essential information exists in more than one place and can be restored when needed.
Prepare your accounts, apps, and security settings
Many upgrade problems have less to do with the phone itself and more to do with account access. Before switching, make a list of the apps and services you use every week: email, banking, payment apps, messaging platforms, cloud storage, work tools, school portals, medical apps, and social media. Then verify that you can sign into each one if needed. This is especially important if your current phone stores passwords automatically and you have not typed them in for months.
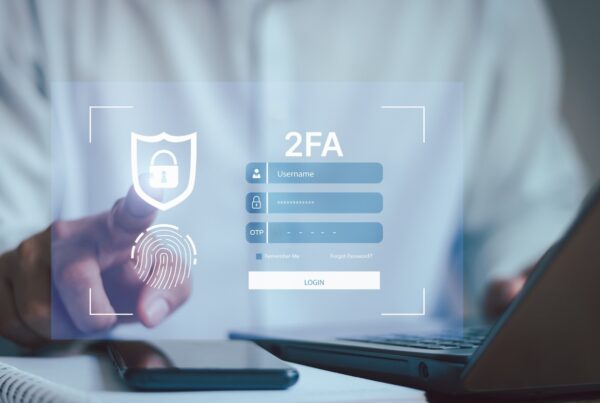
Pay close attention to two-factor authentication. If you use an authenticator app, check whether it syncs across devices or requires a manual transfer. Some authentication tools let you export or recover accounts; others do not. If you skip this step, you could lock yourself out of email, financial services, or business accounts after the move. Also review any recovery methods tied to an old phone number, outdated email address, or inactive backup device.
Next, look at eSIM and carrier settings. Newer iPhones often use eSIM activation, and while setup is usually straightforward, it can still be delayed by carrier account issues, identity verification, or old account information. Make sure your carrier login works and that your billing and contact details are current. If you are moving from a physical SIM to eSIM, understand whether activation can happen during setup or whether you will need to complete a separate step afterward.
Security settings deserve one more review. Confirm Find My is enabled on your current iPhone, but do not erase the old phone until the new one is fully working. Check your trusted devices, recovery contacts, and passcode settings. If you use Face ID for secure apps, expect to re-enroll biometrics on the new device. Going into the process with organized credentials and updated security information makes the switch faster and greatly reduces the risk of account lockouts.
Choose the best transfer method and avoid common migration mistakes
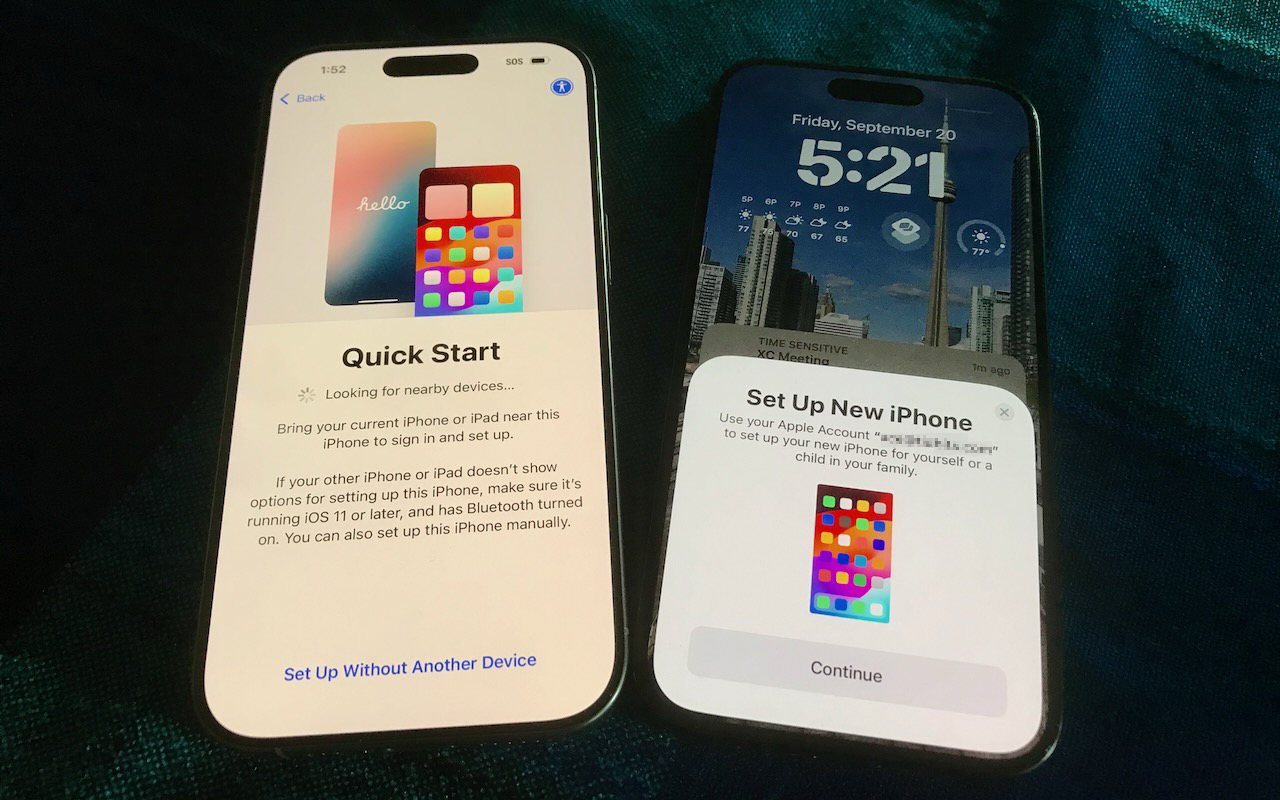
There is no single best transfer method for everyone. The right option depends on how much data you have, how healthy your old phone is, and how quickly you need the new iPhone 17 ready to use. A direct device-to-device transfer is often the easiest choice when your current iPhone is working well. Keep both phones plugged in, place them near each other, connect to strong Wi-Fi, and let the process finish without interruption. Do not answer calls, switch networks, or start using either phone mid-transfer.
An iCloud restore can be better if your old phone has battery issues, storage problems, or an unstable connection. It also helps if you want to set up the new phone first and restore data afterward. The tradeoff is time: some content, especially photos and app data, may continue downloading in the background for hours or even days depending on your internet speed. During that period, the phone may look ready even though not everything has returned yet.
A computer-based backup and restore can be the most controlled option for users with large amounts of data or unreliable internet. This method is also useful when you want a second layer of protection before making changes. No matter which transfer path you choose, do not erase the old iPhone immediately. Keep it powered on and connected for a few days until you confirm your photos, messages, notes, files, apps, and account access are all intact.
Common mistakes include starting the transfer with low battery, ignoring software updates, using crowded public Wi-Fi, and assuming every app will stay logged in. Another frequent problem is overlooking media stored locally inside third-party apps. Before you call the migration complete, open your most important apps one by one and confirm the data is there. That final verification step is what separates a successful upgrade from a stressful recovery.
What to check after setup so nothing important is missing
Once the new iPhone 17 is up and running, spend time validating the setup before you treat the process as finished. Start with the basics: make a test call, send a text message, connect to Wi-Fi, and verify cellular data works. Check that your contacts, calendars, reminders, and notes are current. Open Photos and compare the recent images on the new phone with the old one. If your library is large, remember that thumbnails may appear before full-resolution files finish syncing.
Next, review your most important apps individually. Sign into email accounts and confirm new messages are arriving. Open banking and payment apps to make sure authentication works. Test maps, ride-share, messaging, and any work-related tools you rely on daily. If you use smart home devices, watches, wireless earbuds, or car integrations, reconnect them now rather than discovering a problem when you are in a hurry later. Bluetooth pairings and permissions do not always transfer perfectly.
Then inspect settings that affect privacy and convenience. Confirm Face ID is working, notification settings match your preferences, and location access is correct for navigation, weather, and camera apps. Review Photos permissions, microphone access, and background app refresh for tools you depend on. If something feels off, compare the settings side by side with the old iPhone before making major changes.
Finally, wait before wiping the previous device. Keep the old iPhone available for several days so you can cross-check missing files, recover forgotten app settings, or receive verification codes if needed. Only after you are certain the new phone has your data, your accounts are accessible, and your daily functions work normally should you sign out, erase the old device, and remove it from your trusted setup. That extra patience is often the best protection against upgrade regret.
Contact G2 Computers in Washington Crossing
Need help? Contact G2 Computers today.